Hey folk, we just given an access to evaluate Veeam Endpoint Backup (Beta). Veeam has been famous to release a product which focuses on virtualization infrastructure. With this release, it allow us to perform data protection and disaster recovery solution for physical machines. You can use it to create an entire system image backup, backup specific volumes and individual folders, restore data from backup to its original location or new location or perform bare metal restore. Never expect Veeam will release a product to backup and recover physical server. Now let checkout the product
[File Size]
233 MB (in zip format)
[ System Requirement]
- Microsoft Windows 7 or later. Based on testing, at this moment “Windows 10 Technical Preview is not supported”
- Microsoft Windows Server 2008 R2 or later (both 32-bit and 64-bit versions)
[Integration with Veeam Backup and Replication]
Veeam Backup & Replication™ integration and backup repository support are NOT included in this beta
[Our Testing Environment]
- Windows Server 2012 R2. It was boot from VHD. Therefore, you need to add an additional registry value as listed below.
EpEnableVirtualDiskProcessing = 1 (DWORD) value under HKEY_LOCAL_MACHINE\SOFTWARE\Veeam\Veeam Endpoint Backup.
[Backup Destination]
- Removable storage devices (more than 32GB size)
- Local computer drive
- Network shared folder
- Backup repository connected
[Backup Types]
Allow to perform
- volume level backup
- file level backup
[Icon – After installation]
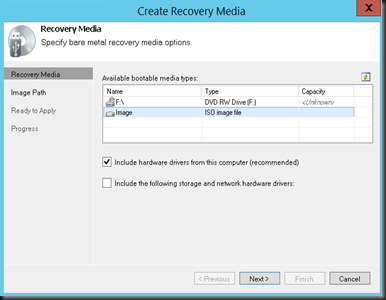
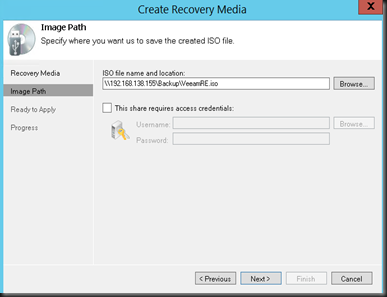
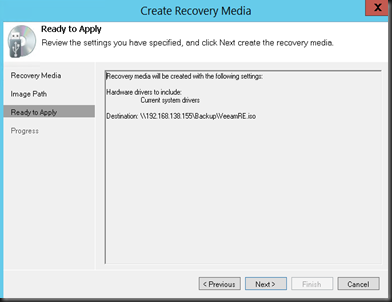
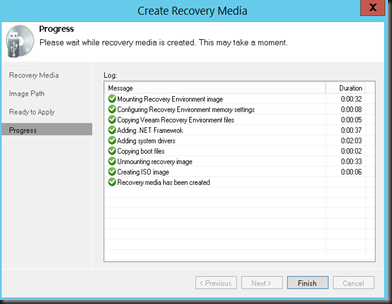
[Create Recovery Media]
Able to create recovery image of your computer to
- any removable media
- Includes standard Windows recovery tools
- Allow system recovery from your personal cloud over wifi
- Maintain hardware drivers
First should enable “Wireless LAN Service feature” to enable Wifi supported on appliance.
Recovery image provides an alternative way to boot your computer when computer fails to start.
[Configure Backup]
1. Click Configure Backup
2. Select Backup Mode
- Entire Computer
- Volume level backup
- File Level Backup
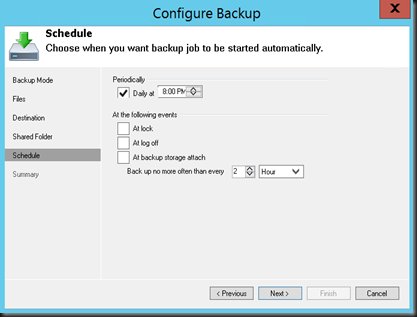
Screenshot below will backup volume to shared folder with 3 days retention range.
You can view Veeam backup progress from taskbar
End result backup in shared folder
- consist of vbm & vbk
[ File level Backup ]
[Volume Restore]
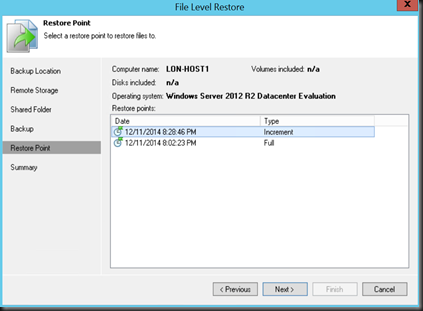
End result in shared folder is a file with an extension vib. Most likely it is incremental backup after we perform volume level backup.
[File Level Restore]
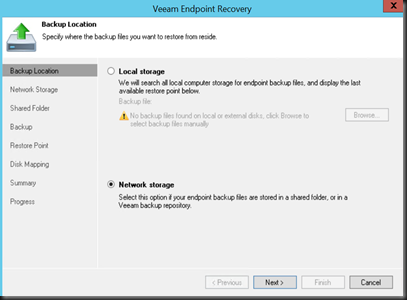
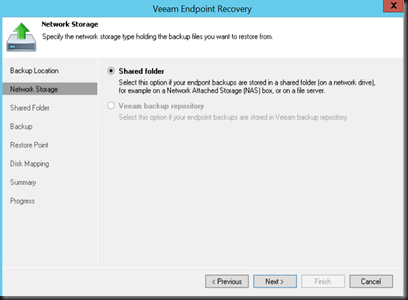
- Select File Level Restore
- Select your backup source
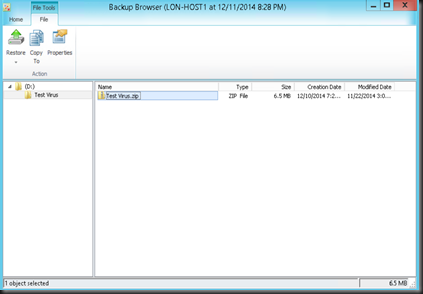
After click Finish, a backup browser will open and allow you to select which file to restore.
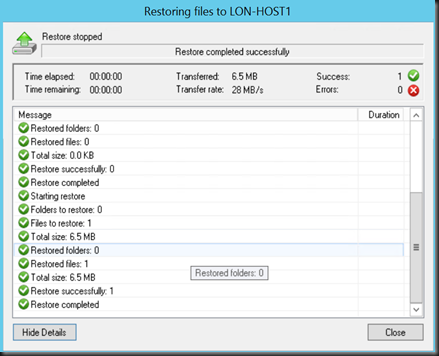
You can restore or copy to another location. If select restore, user able to select to maintain existing file or overwrite.
[Control Panel]
Navigate to taskbar and you able to view the Veeam Endpoint Backup
- View the backup status, Job Status & Detail
- Configure backup and recovery
Able to disable schedule backup, notification and throttle backup activity when system was busy.
- Ease of support. When submit a ticket, the system will capture log and send to Veeam support without our interaction.
[ Conclusion ]
Overall we found that the product was easy to use without even need refer to manual guide.
Prons
- Ease of use
- Able to create recovery image
- Able to backup to removable drive and shared folder
- Able to perform volume level and file level backup
Cons
- Can’t find a central console to manage if consist of multiple protected server
Now we are waiting for the product to release a final build so we can test and store to Veeam Backup Repository. So stay tuned…it is coming soon!


