We are going to explore on Window Azure Active Directory. Some people tend to misunderstand the concept of on-premise active directory vs Azure Active Directory and always assume both is the same and work exactly like Active Directory in Azure VM.
How Windows Azure Active Directory is different?
It’s allow centrally manage users’ access to Windows Azure and other Microsoft online services like Microsoft Office 365 and other non Microsoft Saas application.
We can provisioning and de-provisioning of user accounts stored in cloud directory to the SaaS application that your organization uses.
To get started, you need to have Windows Azure or Office365 subscription.
Where do we get user account?
a. Manual create from Windows Azure Management Portal
b. Existing Office365 directory
c. Sync from on-premise Active Directory
Tool to use - Active Directory Sync Tool. It will provide one way sync user account and password.
To download this tool, click here.
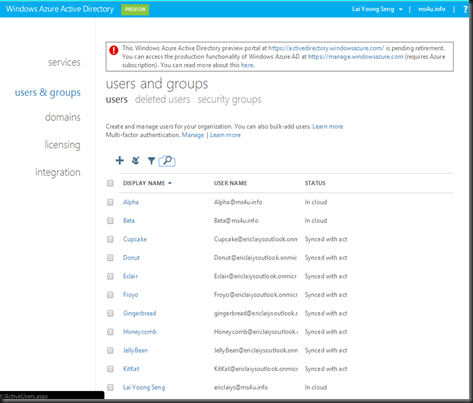
Once synced, you can verify directory synchronization from Windows Azure Management Portal.(Active Directory | Users)
- Highlighted in yellow – is an account create an user account from Azure Management Portal
- Meanwhile the rest of the account – is the result of sync from on premise Active Directory
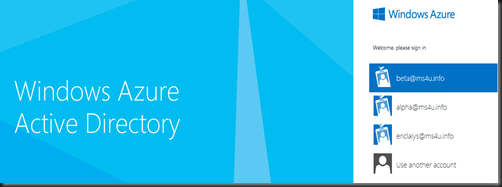
You can verify access to Windows Azure Active Directory Portal by using the following URL:- http://activedirectory.windowsazure.com/
Login as Global Administrator will provide full access to manage Windows Azure Active Directory.
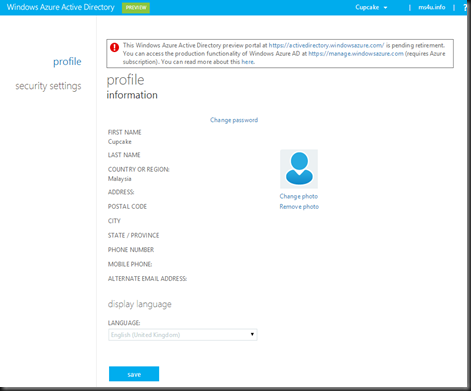
Login with “User Role” - only able to view own details and change their own profile.
Future:-
- Windows Azure Active Directory preview portal at https://activedirectory.windowsazure.com/ is pending retirement. You can access the production functionality of Windows Azure AD at https://manage.windowsazure.com (requires Azure subscription).
Application Access
Next step is configure Application Access through Windows Azure Active Directory. For our lab example, we are using Box (www.box.com)
1. Click Add, select BOX as an application that your organization use. Make sure you have a BOX subscription either Business (allow for 1 SSO Integration) or Enterprise (allow an Unlimited SSO).
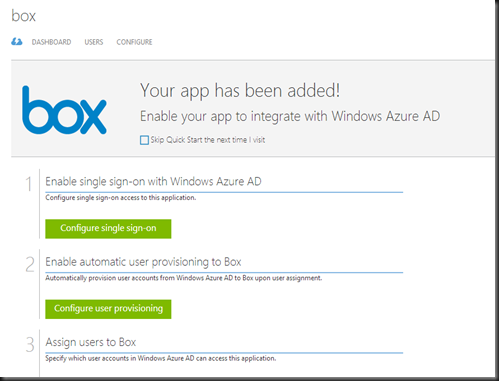
2. Once the application is added, simply follow the steps in the management portal to complete the connection
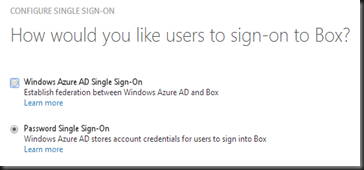
Step 1:- Configure Single Sign on- For our testing purpose, I’m selecting “Password Sign Sign On”. If you select Windows Azure AD Single Sign On, do remember to send the metadata file to Box support team in order to enable SSO.
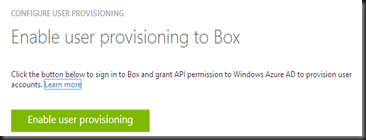
Step 2:- Enable user provisioning to Box once a user is assign to the BOX. Here you are require to enter your BOX subscription credential to allow authorization to use Windows Azure SSO on BOX.
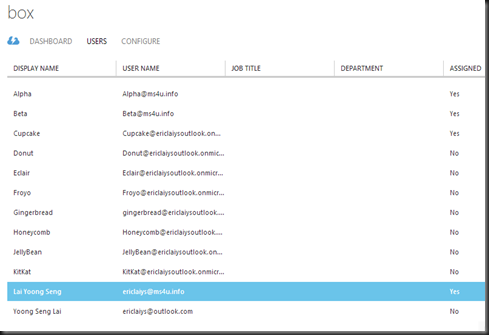
Step 3:- Granted user which you would like to give access to Box.
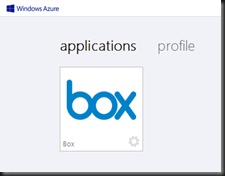
Finally, perform testing an application access by login to Application Access Panel:-
Only user which has granted access will be able to see their application listed in the portal.
Here are list of applications that you can test
a) Dropbox for Business
b) Google App for Business
c) Skydrive
d) Office365 for Exchange Online
e) Office365 for Sharepoint Online
For more complete list of app support Windows Azure Active Directory, please check out here. There are total of 1021 app which support integration with Active Directory and Single Sign On.


